Showing posts with label candle tips. Show all posts

Wednesday, July 24, 2013

Tips to Help Your Candles Burn Longer: #2

Last week we discussed the importance of the first burn of your candle. Here's how to help them best burn each and every time following.

Remember the concept of the melt pool? It's the softer wax which melts more quickly than the rest of the candle. You'll notice this wax will melt much more quickly on the second burn than it did the first time.

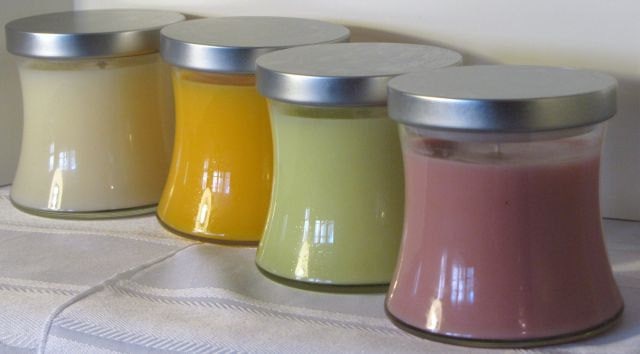
A good rule of thumb is that a candle will burn one hour per inch of the diameter of the candle. So, using my 12 oz Interlude jars again as an example, the top and the bottom diameters are 3 1/8", so you'll need to allow just over three hours for every burn.

But wait! These candles are hourglass shaped! You'll need to take into consideration the shape of the candle as well. At the "waist" of the candle, the diameter is probably closer to 2 3/4" inches. So while not a significant difference, you'll need to burn the candle just shy of three hours as the wax reaches the center, then you can burn it longer as the wax gets closer to the bottom of the jar.

Additionally, burn the candle only until you get 1/2" of a wax pool. Any more, and you risk the wax becoming too hot. The fragrance oil used is your candle is a combustible element. 

Also, if the wax becomes too hot, the glass itself could break. Glass is a funny material; you may not be aware of tiny fissures existing in the container which could melt, causing a sudden breakage.
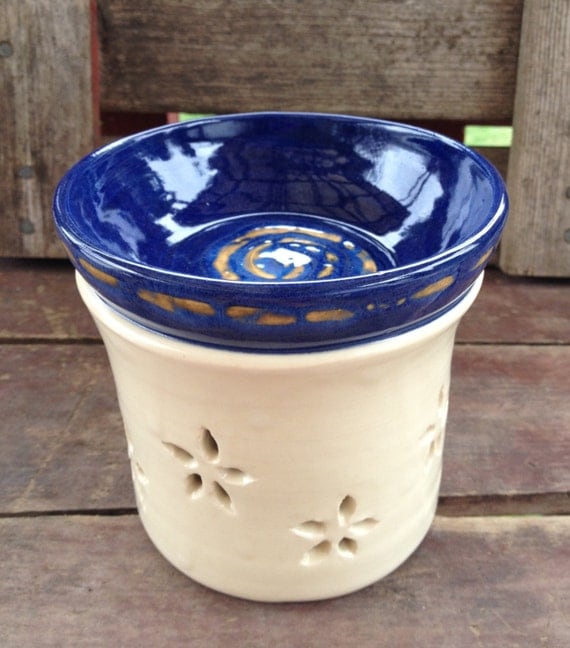
Wax Warmer by DawnDavareDesigns

So, what do you do if you didn't burn your candle correctly the first time, and each subsequent burn produces a lopsided candle? It's ok to scoop warm wax out of your container and create a level surface. Remember to use a spoon rather than a knife. Then treat the next burn as your would a first burn. 

What to do with the left over wax? Put it in a wax warmer and enjoy the fragrance while it lasts!


Wednesday, July 17, 2013

Tips to Make Your Candles Burn Longer

Did you know there is actually a right way to burn your candles? Let's focus on step #1: the first burn:

The first time you burn your candle is the most important. Wax has a "memory" and will behave as you "tell" it to during the first burn. 

For the first burn, you should allow your candle to remain lit until the wax pool is melted completely across the width of the container. An easy way to estimate the amount of time this will take is to measure the diameter and to calculate approximately one hour per inch. So if you've purchase one of my 12 oz. Interlude jars, the diameter is 3 1/8" across the top, and you'll need to allow just over three hours, depending upon the fragrance and other conditions such as draft, for your first burn. 

This is what creates the "memory." Wax becomes softer with each melt and will burn the softest wax first. You'll notice that in subsequent burnings that this wax pool melts much more quickly. If you've allowed your first burn to melt correctly, you'll see your future burnings will melt this memory pool more quickly.

If your candle does not burn completely across in the first burn, you'll notice a "shrink pool" develop. And since melted wax is softer than its surrounding wax, this shrink pool will burn first, leaving a rim of stronger wax around it. It becomes more and more difficult for this wax rim to burn because the heated wax will burn what is surrounds it. As the wax pool increases in depth, it becomes easier for the wax to melt what is under it than what is around it.

Wick size can also be a factor, and in all candor, I've noticed that some of my earlier produced candles do not burn as well as those I currently make. I stand behind my product, and if you feel you've received an inferior candle, I will replace it at my cost.

But for now, take a look at candles you've recently burned, and pay attention to the next ones you light. Your candles will start to last longer!


Have a question about candles or home fragrances? Email me - I'll answer all questions!

Sunday, March 25, 2012

Tips to make your candles last

To get the most out of your candles, follow these tips:


Keep your wick trimmed. Before lighting your candle, trim the wick to 1/4" above the wax.  Anything longer can cause the wick to burn too quickly and to create smoke.  If you have a "mushroom" at the top of your wick after burning, it's too long.


Candles add fragrance, warmth and comfort to a home.
Try these tips to keep them burning longer.
Avoid drafts.  Drafts can cause your candle to burn unevenly.  Sometimes the drafts in your home are subtle and you may not notice.  If you see your candle is burning unevenly, rotate it 90 degrees with every burn .  This will help you get the most from your wax.


Burn your candles long enough.  Burn your candles no more than 3 to 4 hours at a time.  A general rule of thumb is to burn your candle one hour per inch of diameter. Burning candles longer can cause the wax to get too hot and your may risk your glass breaking from the heat.


Use a candle snuffer.  The snuffer eliminates the oxygen needed for the fire to burn and enables the fire to estinguish itself naturally.  This also allows the wax to remain in its melt pool without splattering all over.  If a snuffer is unavailable, blow the candle out by placing your finger in front of the flame and blow gently.


Place a teaspoon of water in the bottom of your votive holder before inserting the candle. This will prevent your votive from overheating and ease in removal of the candle.


And always, keep your candle away from children and pets. 
Related Posts Plugin for WordPress, Blogger...